Essential Tools And Materials On How To Make A Ball Jointed Doll Out Of Polymer Clay
October 7, 2023
How To Make A Ball Jointed Doll Out Of Polymer Clay
Making a ball jointed doll out of polymer clay is a fascinating and creative project that allows you to bring your artistic vision to life. With the right techniques and materials, you can create a unique and poseable doll that reflects your personal style. In this article, I’ll guide you through the process of making a ball jointed doll using polymer clay.
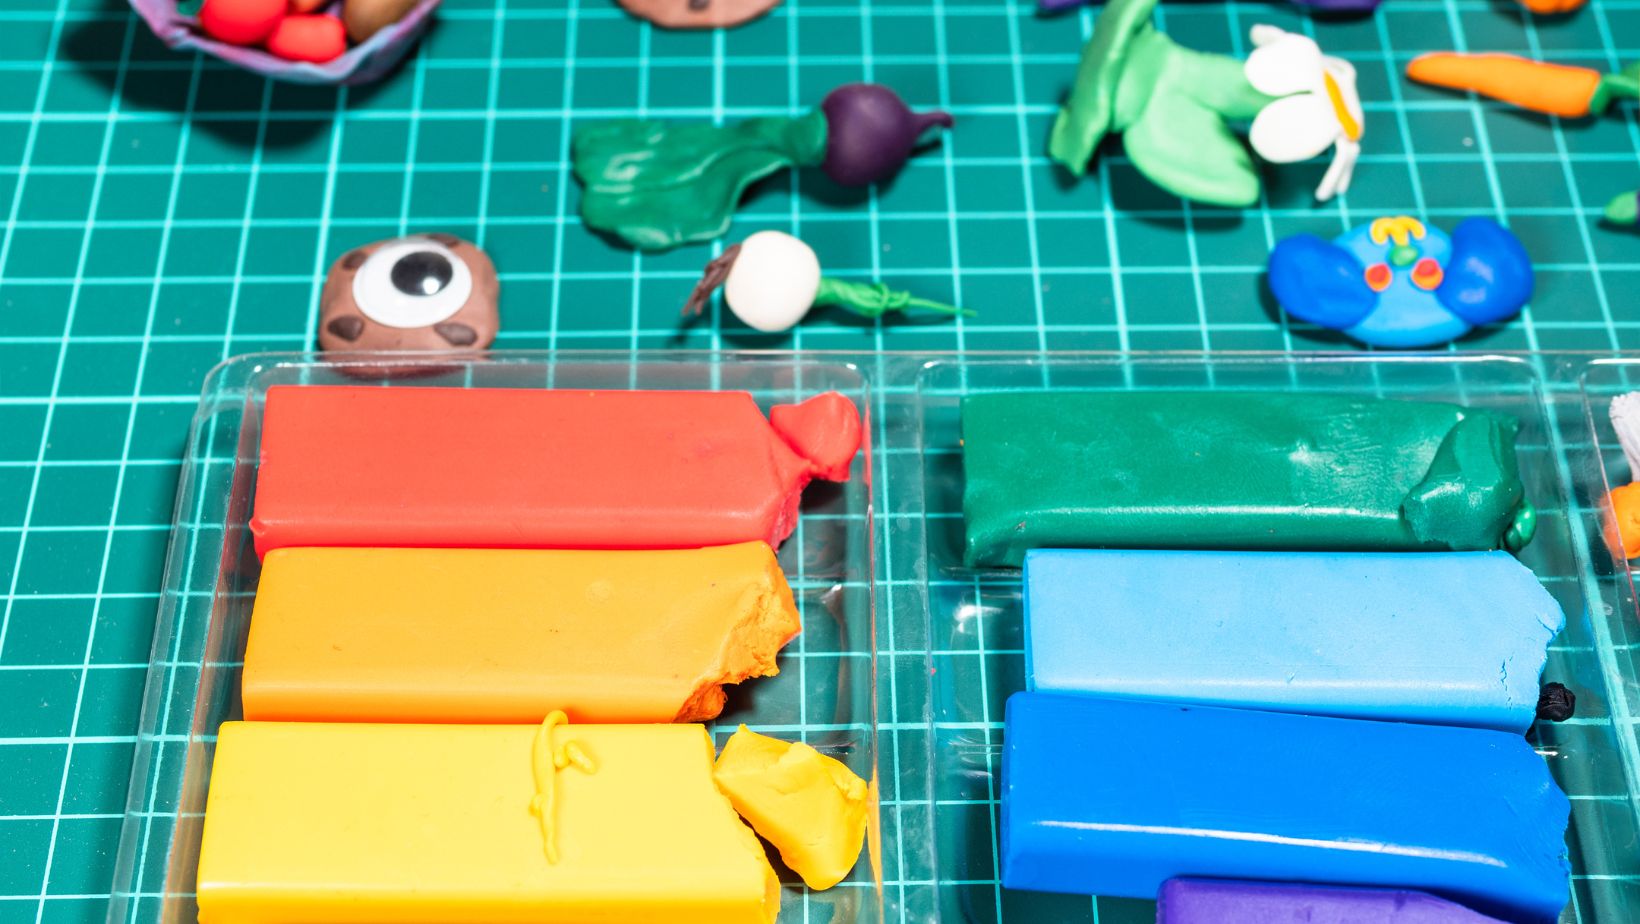
Before getting started, it’s important to gather all the necessary supplies. You’ll need polymer clay in various colors, sculpting tools, armature wire or pipe cleaners for the skeleton structure, sandpaper for smoothing surfaces, and an oven for baking the clay. Additionally, having reference images or sketches of your desired doll design can be helpful during the creation process.
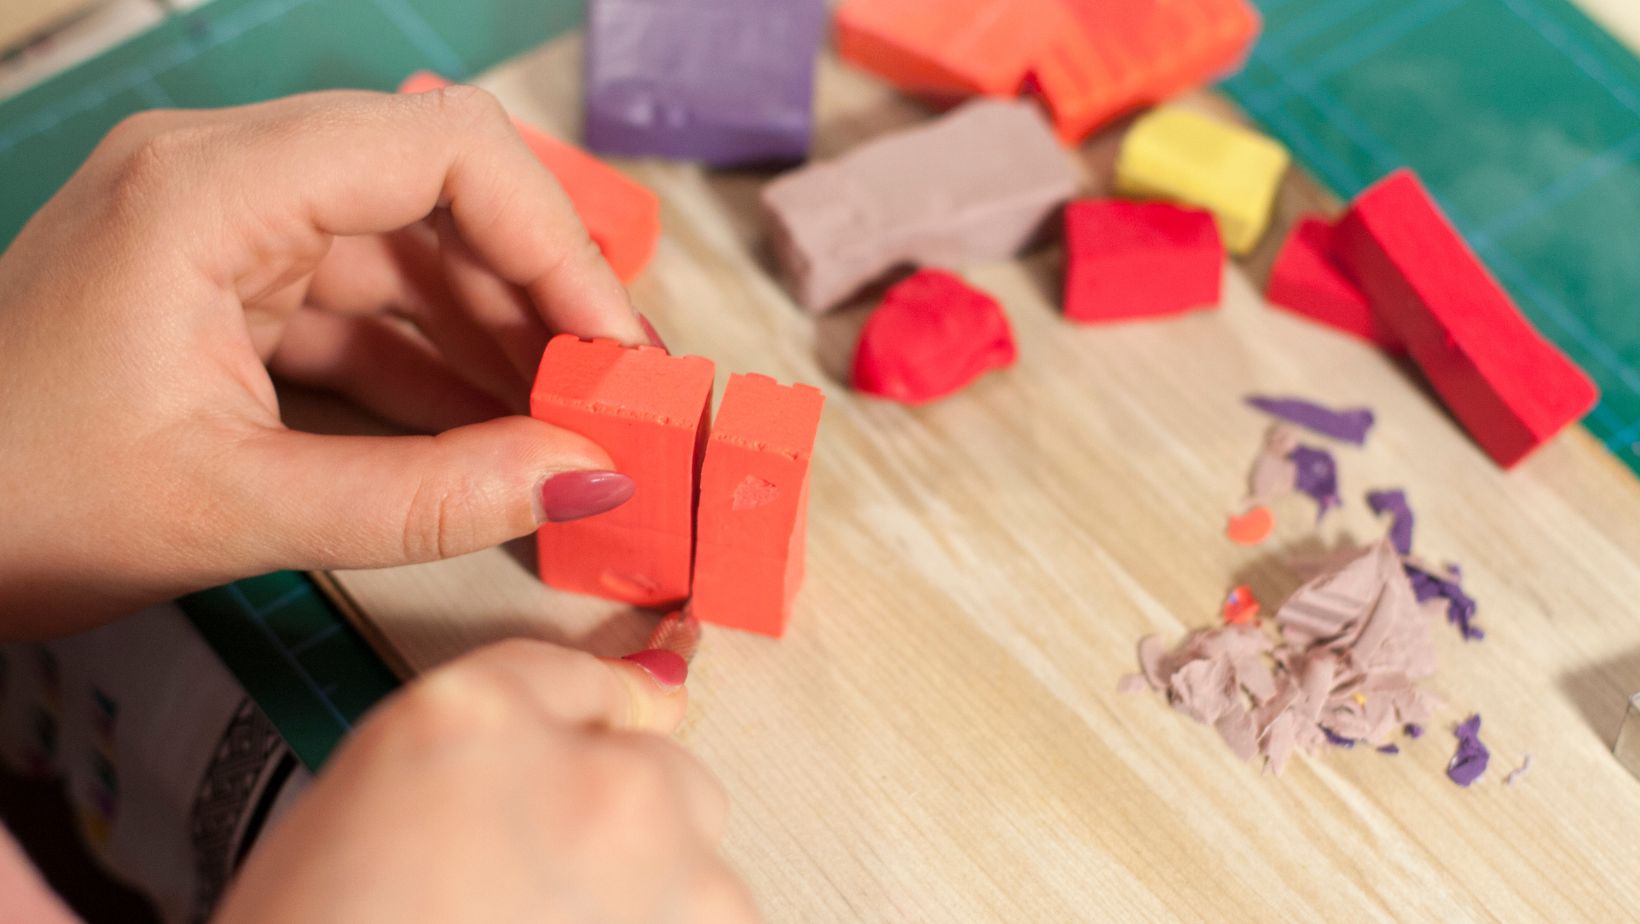
To begin making your ball jointed doll, start by shaping the individual body parts such as head, torso, limbs, hands, and feet from polymer clay. Ensure that each piece is properly proportioned and smooth out any imperfections with sandpaper before baking them according to the manufacturer’s instructions.
Once all the parts are baked and cooled down, it’s time to assemble your ball jointed doll. Using armature wire or pipe cleaners as connectors between the joints will allow for movement and flexibility. Carefully attach each limb using strong adhesive or by embedding them directly into the clay body parts.
After assembling your doll’s body structure, focus on adding finer details like facial features, hair texture, clothing designs – using additional layers of polymer clay or other materials as desired. Take your time with these intricate steps to achieve a realistic look for your finished doll.
Creating Articulated Joints
When it comes to making a ball jointed doll out of polymer clay, creating articulated joints is a crucial step. These joints allow the doll to have realistic movement and poseability, adding an extra level of charm and personality to your creation. In this section, I’ll guide you through the process of crafting these essential joints.
- Planning the Joint Structure Before diving into the actual construction, it’s important to plan out the joint structure for your doll. Consider the range of motion you want each joint to have and how they will connect with one another. Sketching out a design or making a blueprint can help visualize the final result and ensure that all joints function smoothly together.
- Shaping the Joints To create sturdy yet flexible joints, start by selecting a high-quality polymer clay that is suitable for sculpting dolls. Begin by shaping small pieces of clay into spheres or cylindrical forms for each joint. Make sure to smooth out any rough edges or imperfections using your fingertips or a modeling tool.
- Assembly and Reinforcement Once you have shaped all the individual joint components, it’s time to assemble them together in proper alignment. Use small amounts of liquid polymer clay as adhesive between each piece, ensuring secure attachment. Additionally, reinforcing thin parts such as limbs with armature wire can provide added strength and stability.
- Baking After assembling your doll’s articulated joints, carefully place them on a baking sheet lined with parchment paper and follow the manufacturer’s instructions for baking temperature and duration based on the type of polymer clay used. Remember to preheat your oven before placing your doll inside.
- Sanding and Finishing Touches Once baked and cooled down, gently sand any rough areas on the joints using fine-grit sandpaper or emery boards until they are smooth to touch. This step helps improve movement fluidity while preventing friction between different parts of the joint. Finally, you can add a layer of paint or varnish to enhance the appearance and protect the joints from wear over time.
By following these steps, you’ll be able to create well-crafted articulated joints for your ball jointed doll made out of polymer clay. Remember, practice and experimentation are key to perfecting your technique. So let your creativity flow and enjoy the process of bringing your doll to life with realistic movement and poseability.
Amanda Davis
Amanda is the proud owner and head cook of her very own restaurant. She loves nothing more than experimenting with new recipes in the kitchen, and her food is always a big hit with customers. Amanda takes great pride in her work, and she always puts her heart into everything she does. She's a hard-working woman who has made it on her own, and she's an inspiration to all who know her.

Measuring How Far Away Can You See a Rocket Launch from Cape Canaveral
How Far Away Can You See a Rocket Launch from Cape Canaveral How far away can you see a rocket launc

Please Visit Amazon.com/Yourorders On Your Desktop To Fix The Problem: Resolving Order Problems On Amazon
If you’re facing an issue with your Amazon orders, I have a solution for you. To fix the probl

Uplifting Thoughts to Start Your Day: Reflexiones de Buenos Días Cristianas
Reflexiones de Buenos Días Cristianas Looking for some uplifting and inspiring words to start your