How do you make Jello shots not stick to the Cup?
February 2, 2022
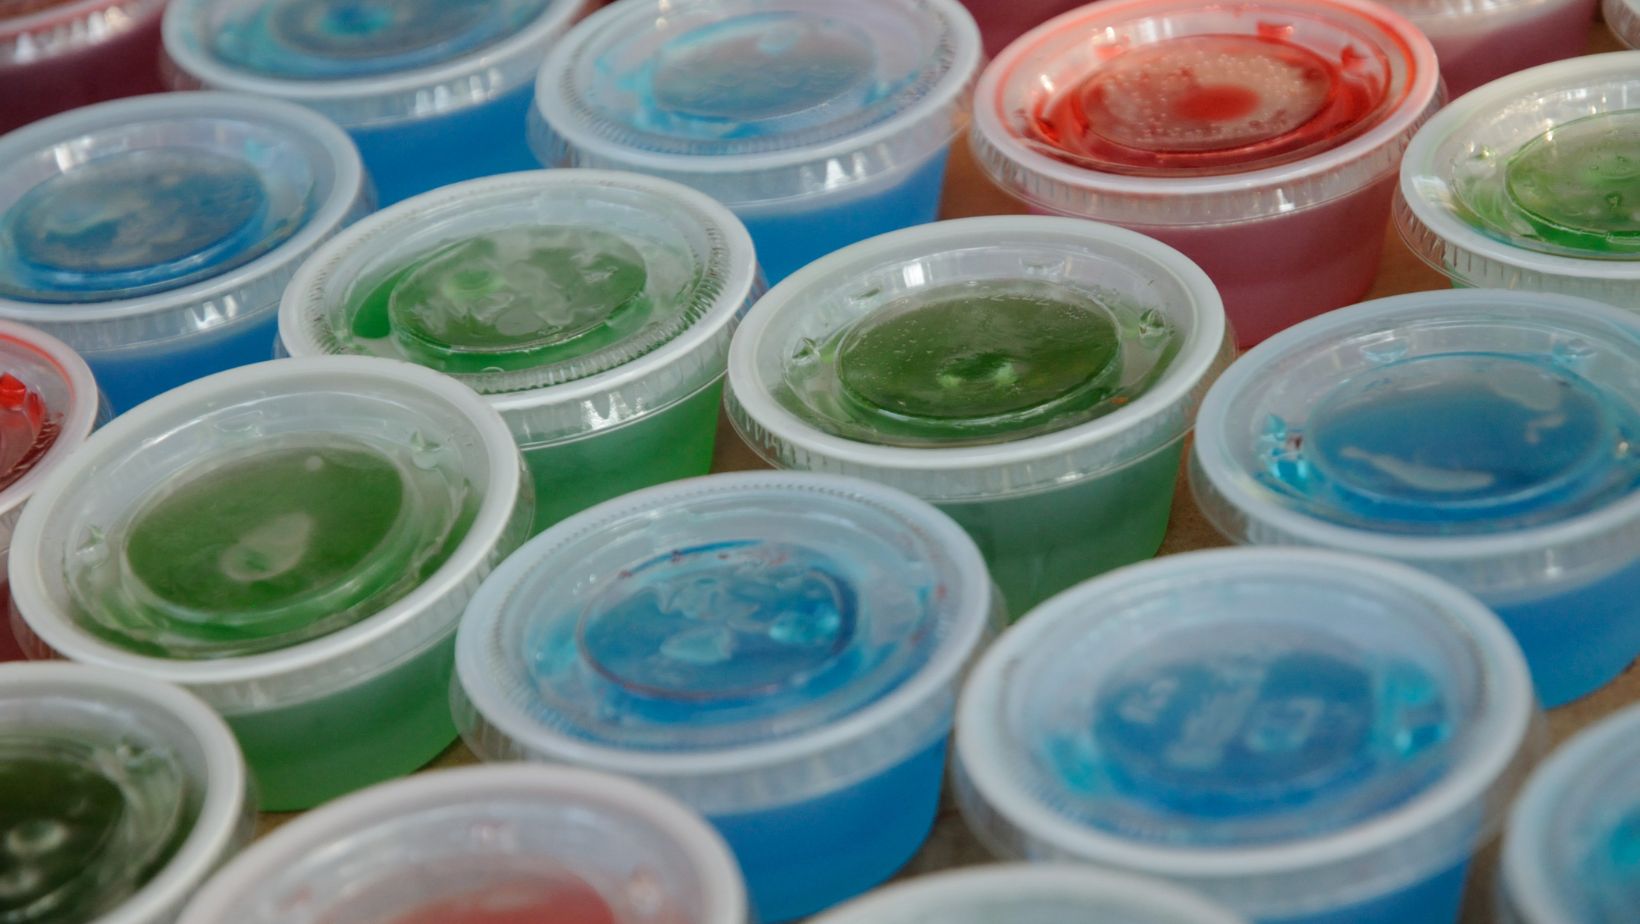
How do you make Jello shots not stick to the Cup?
Have you ever wanted to be a mad scientist for the day? No need to build a laboratory, just get creative with some cups and jello shots! With the right methods, you’ll never have to worry about jello shots sticking to your cup. Read on and discover the secrets of creating picture-perfect jello shots!
 What is the best way to take shots without tasting them?
 What is the best way to take shots without tasting them?
Jello shots are a fun and easy way to add some sweetness and a bit of “spirit” to any gathering. But, you want to make sure you serve them safely, without tasting them and with minimal messes. To do so, there are a few things to keep in mind when making jello shots.
The number one way to make sure shots come out tasting great is to use the right proportion of liquid:gelatin ratio when mixing the ingredients. Too much liquid will prevent the gelatin from setting properly and cause your shots to be too runny while too little liquid will make your shots too tough or firm.
Another important factor is temperature. Chill your Jello shot cups in the fridge prior to pouring your mixture into them; this will help prevent the liquid from absorbing into the cup material and resulting in a stickier surface for your shot. If possible, let them sit for at least an hour so that they are adequately cooled down before consuming.
Finally, it’s important to consider lubrication when serving jello shots – no matter how well-chilled a Jello shot may be, it will still eventually become stickier as it warms up after being taken out of the fridge. To prevent this from happening make sure that any cup or container you use for serving is sufficiently lubricated with vegetable oil or cooking spray before adding in your Jello mix; this will help promote easy release upon consumption!
Is it better to put Jello shots in the fridge or the freezer?
 Is it better to put Jello shots in the fridge or the freezer?
It can be difficult and even messy to serve a jello shot due to the gelatin’s adherence to the cup. While there is no silver-bullet solution that works for everybody, some methods are more successful than others. One popular method is to coat the cup with cooking spray or vegetable oil before placing the jello shot mix into it. This will create a barrier between the cup and gelatin, making it easier to remove when served.
When deciding between storing Jello shots in the fridge or freezer, many factors must be taken into consideration. Generally speaking, if you plan on consuming your Jello shots within two hours of preparation then it’s best to leave them in the refrigerator. On the other hand, if you need to store them for longer than two hours, then it may be better to place them in a freezer for an extended period of time as temperatures much lower than those found in a fridge can solidify gelatin more quickly and compactly, allowing for smoother removal from cups when consumed later on. When using a freezer, remember that you will need additional time for thawing once removed from its storage container prior to serving!
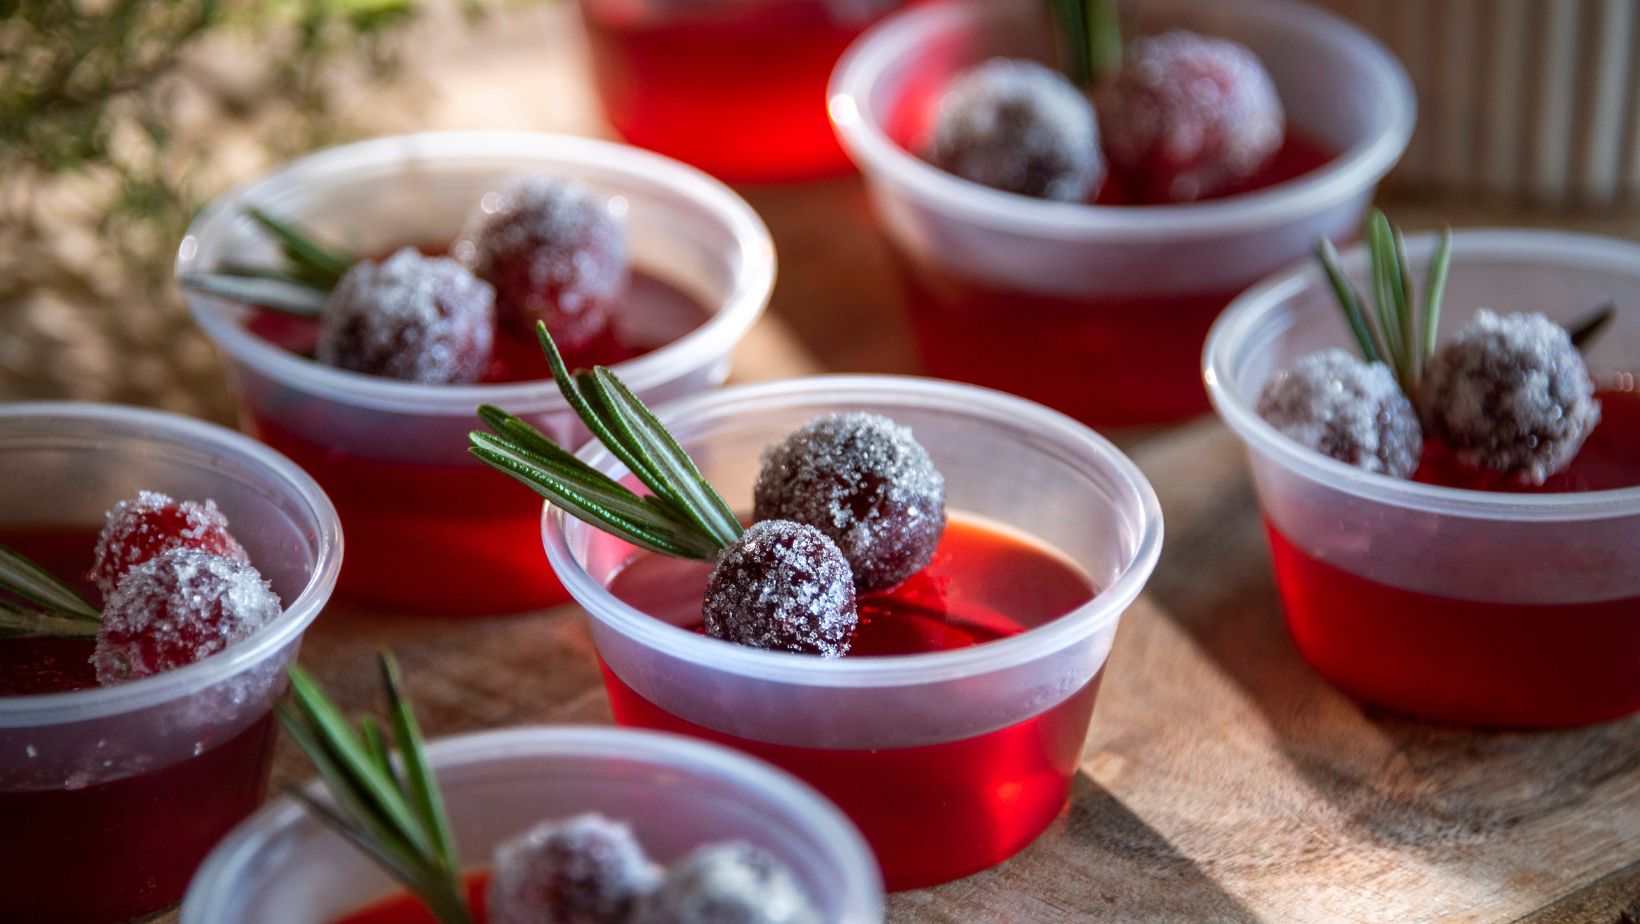
A quarter of a Jello shot yields how many Jello shots?
Jello shots are a fun way to add a festive flavor to your party. Preparing them can be a little tricky, however, as some of the Jello shot contents may stick to the cup after refrigeration. To avoid this sticking, there are a few easy steps you can take during preparation.
First, spray the inside of your cups with non-stick cooking spray before filling with your Jello shot mixture. This will create a thin film between the cup and the ingredients that prevents sticking once chilled. It’s also important to use plastic cups for Jello shots; paper cups interact too much with the moisture in the mixture and won’t give you consistent results.
Next, be sure not to overfill your cups when making the Jello shots; only fill them up two-thirds of the way or less to ensure that they don’t overflow while they’re cooling. Finally, before serving put each Jello shot briefly in warm water (10-15 seconds or so) – this helps loosen up any stuck ingredients on the side of the cup and should pop right off when inverted onto a plate.
A quarter of a 3-ounce package of Jello yields four 1 ½ ounce shots; adjust according to desired strength, type and quantity of ingredients used and size/quantity of cups as necessary. Always shake off excess water from each Jello shot before serving – this will help prevent diluting each shot’s content and provide customers with uninterrupted enjoyment!
Do you use jello molds that you spray?
For many party hosts, jello shots may be a fun addition to the beverage menu, but getting them out of the cup after they’re done can be a challenge. By using jello molds that you spray with cooking spray, you could make the process much easier. Generally any type of non-stick cooking spray will do, but if you prefer one with no taste or smell you can buy those as well.
Once your jello molds have been sprayed its a good idea to refrigerate them for 10 to 15 minutes before adding your jello mix to ensure that the mold won’t stick. Of course this is still dependent on how long it takes you blend and cool your mixture as well as how thick your mixture is — some may require more time than others before they set in the mold successfully.
To help ensure easy removal, it’s not just about getting enough oil on all surfaces of the mold when spraying but it’s also important to ensure that you fill each cavity nearly full and residue free before refrigeration. This helps create a uniform shape which makes removal much simpler than when some sections are missing or stuck on other edges when trying to pop multiple shots at once. To remove them from the cup using this method simply should start by running a knife around all edges of each shot before turning each one upside down and gently humming until each pops out cleanly without any sticking or tearing away parts from other shots like sometimes happens without oil or use of molds
Una Johnson
Una is a food website blogger motivated by her love of cooking and her passion for exploring the connection between food and culture. With an enthusiasm for creating recipes that are simple, seasonal, and international, she has been able to connect with people around the world through her website. Una's recipes are inspired by her travels across Mexico, Portugal, India, Thailand, Australia and China. In each of these countries she has experienced local dishes while learning about the culture as well as gaining insight into how food can be used as a bridge between different cultures. Her recipes are often creative combinations of traditional ingredients from various different cuisines blended together to create something new.

What is the size of a mini champagne bottle? |
A mini champagne bottle is a type of festive and celebratory glassware that, like standard-sized bot

How do you keep taco shells open? |
The taco shell is a popular Mexican dish made from corn tortillas and filled with meat, vegetables,

Chocolate Peanut Butter Lava Cakes Recipe
This is a recipe for chocolate peanut butter lava cakes. It’s an easy, no-bake dessert that you ca