Easy Homemade Pumpkin Pie Recipe: Repurpose Your Carving Innards
December 18, 2023
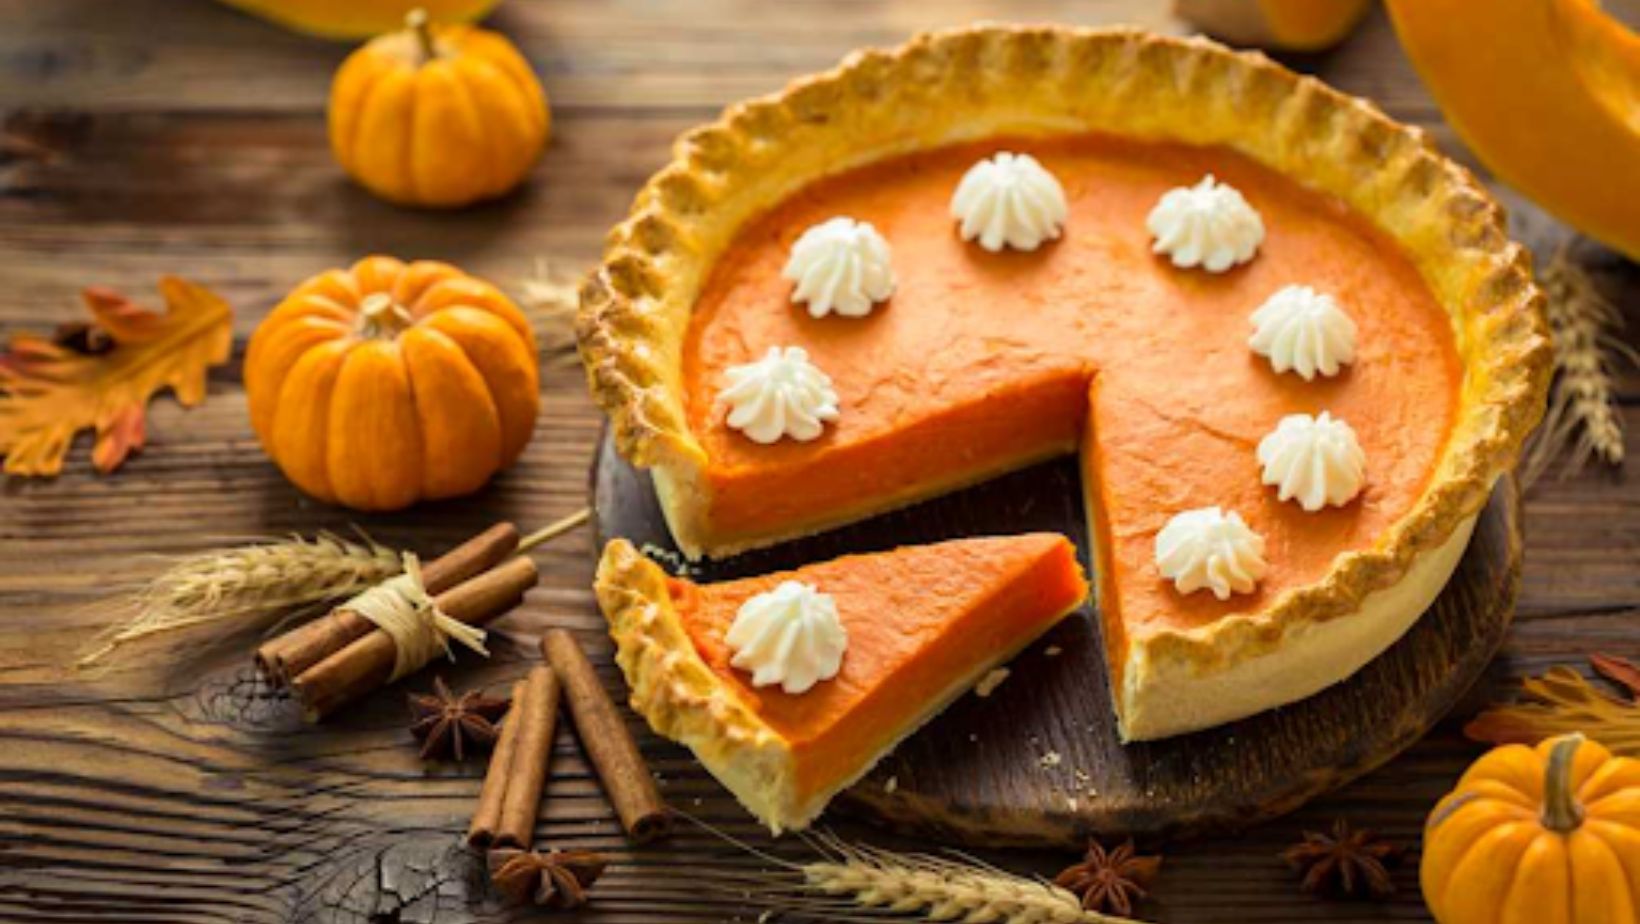
Are you seeking a creative and sustainable way to use your post-Halloween pumpkin innards? Our easy, homemade pumpkin pie recipe is the perfect solution! Not only will this recipe provide a delicious treat, but it’s also a great way to reduce waste and enjoy the full bounty of your pumpkin. From making your pumpkin puree to the final touches for serving and storage, we’ve got you covered.
Benefits of Using Carved Pumpkin Innards
Halloween is over, and you have a lot of leftover pumpkin innards from when you carved pumpkins with the help of SpiritShack. It is nutritious and environmentally friendly to repurpose these pumpkin innards. Pumpkins contain a variety of vitamins. The most notable are vitamins A, which support healthy vision and skin, and C, which is important for immune function. Pumpkins are rich in fibers that promote healthy digestion. They also contain antioxidants, reducing the risk of cancer. Using every part of the pumpkin is economically beneficial and reduces waste.
Essential Ingredients for Your Pumpkin Pie
Creating a pie using the innards of carved pumpkins requires a balance of ingredients, contributing to the pie’s flavor, texture, and quality. Here is a list of ingredients for your homemade pumpkin pie from real pumpkins. The purpose of each ingredient is also explained.
- Pumpkin Puree (2 cups): This star ingredient is made from your carved pumpkin innards and provides a distinctive pumpkin flavor and creamy texture.
- Granulated Sugar (3/4 cup): Balances the natural earthiness of the pumpkin with sweetness.
- Ground Cinnamon (1 teaspoon): This adds the warm and spicy flavor classic to pumpkin pies.
- Ground Ginger (1/2 teaspoon): This subtle but spicy kick enhances the pie’s overall flavor.
- Ground Cloves (1/4 teaspoon): This complements the sweetness and warmth of other spices with a deep and slightly bitter taste.
- Ground Nutmeg (1/2 teaspoon): Round the spice blend with a sweet, nutty aroma.
- Salt (1/2 teaspoon): Balances the sweetness and enhances the overall flavor of the pie.
- Eggs (2 large): Acts as a binding agent, helps the pie filling set, and contributes to its richness.
- Evaporated Milk (1 can, 12 ounces): Gives the filling a smooth, creamy texture and rich flavor.
- Unbaked Pie Crust (1): The pie base. Provides a buttery, flaky contrast to the creamy filling. Use a store-bought crust or make your own.
Step-By-Step Guide to Making Pumpkin Puree:
Using homemade pumpkin puree offers a fresh and authentic taste to your pumpkin pie, making it better than pies made with canned puree. Remember, thoroughly cleaning the innards is the key to a flavorful and smooth puree.
- Clean the Innards: Remove the seeds and stringy parts from your carved pumpkin innards. Rinse them under cold water to make sure all seeds are removed.
- Chop the Pumpkin: Cut the cleaned flesh into small, even chunks. This ensures uniform cooking.
- Cook the Pumpkin: Place the chunks in a large water-filled pot and bring to a boil. Bring the heat down and simmer until the pumpkin is tender. This usually takes about 15-20 minutes.
- Drain and Cool: Drain the water once the pumpkin is soft, and let the pieces cool down. This step is important for safe handling and getting the right consistency.
- Puree the Pumpkin: Put the cooled pumpkin into a blender or food processor. Bled until smooth. You can strain the puree through a fine-mesh sieve to eliminate any remaining lumps for an extra-smooth texture.
You can store this puree in the fridge for up to one week and about 3-6 months in the freezer.
Mixing Your Pumpkin Pie Filling
The process of making pumpkin pie filling is simple and ensures a rich, spiced, and smooth pie. Here’s how you can achieve the perfect filling for your pumpkin pie using leftover Halloween pumpkins:
- Mix Dry Ingredients: Whisk the granulated sugar, ground cinnamon, ground ginger, ground cloves, ground nutmeg, and salt together in a large bowl.
- Beat Eggs: Lightly beat the eggs in a separate bowl.
- Add Pumpkin Puree: Stir the homemade pumpkin puree into the eggs.
- Combine Mixtures: Gradually mix the wet pumpkin mixture into the dry ingredients until well combined for even spice distribution.
- Incorporate Evaporated Milk: Gently stir in 1 can of evaporated milk until the mixture is smooth.
- Ready to Bake: Pour the filling into an unbaked pie crust, ready for baking.
Baking Your Pumpkin Pie
Baking the perfect pumpkin pie involves precise temperature control and timing. Follow these instructions to ensure that your homemade pumpkin pie from real pumpkins has a perfectly cooked filling and a beautifully browned crust:
- Preheat Oven: Heat your oven to 220°C before mixing your filling. This high temperature sets the pie’s structure.
- Fill and Bake: Bake your pie at 220°C for 15 minutes. This prevents a soggy pie bottom.
- Reduce Temperature: Lower the oven temperature to 175°C and let the pie bake for another 40-50 minutes. The total baking time should be around 55-65 minutes.
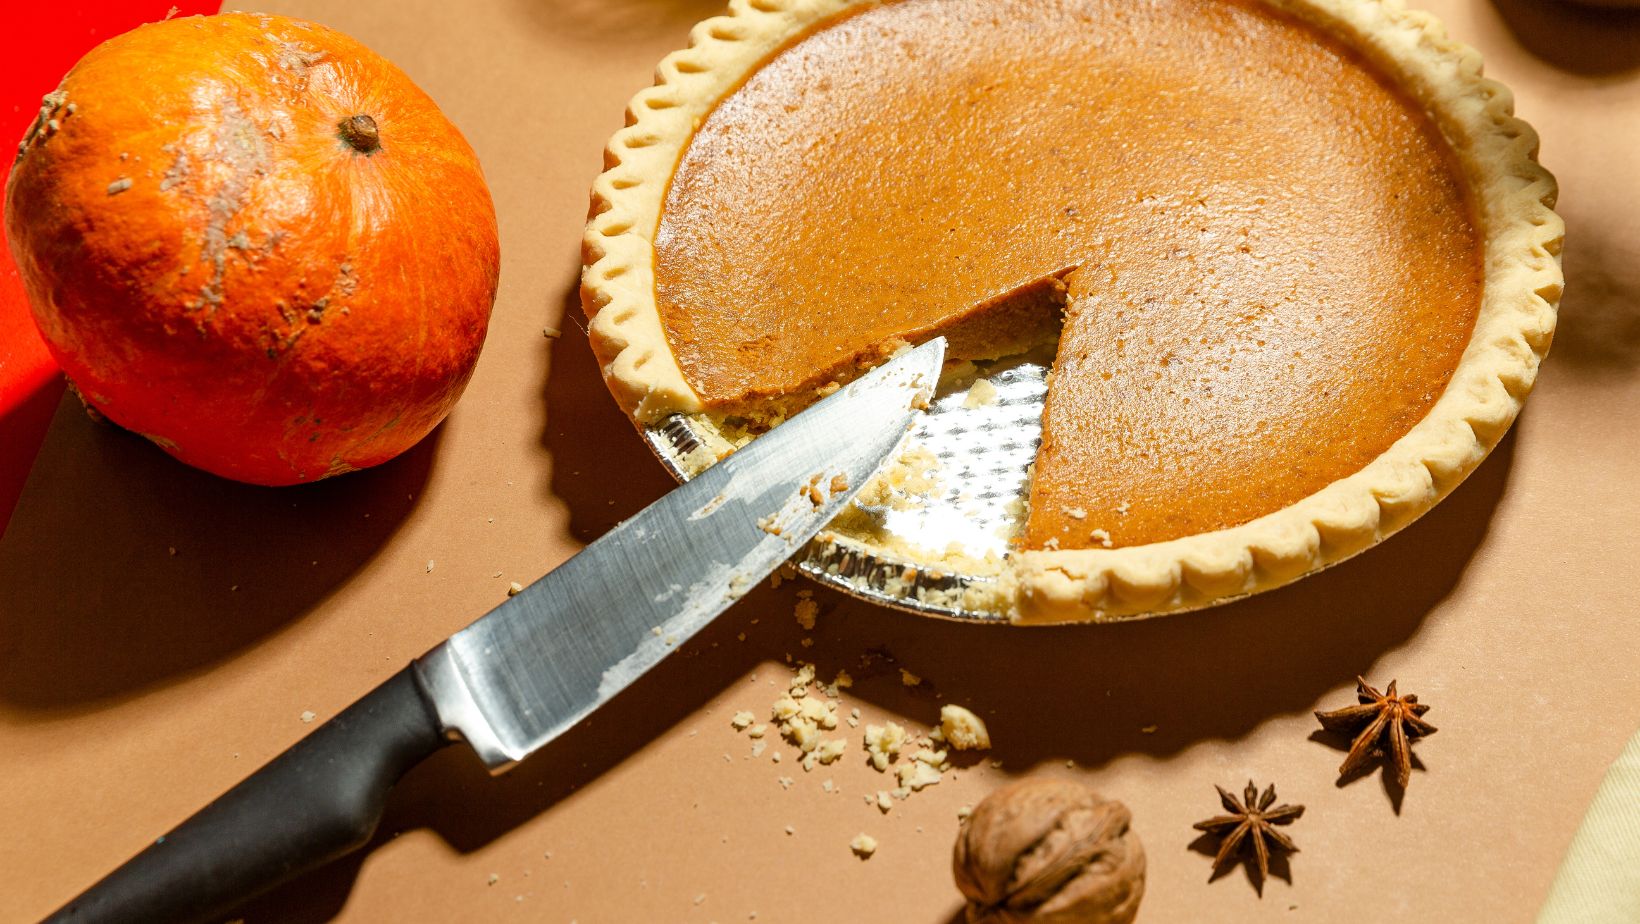
- Check Doneness: When you insert a knife near the pie center, the pie is ready, and it comes out clean.
- Cool the Pie: Take the pie out of the oven and leave it on a wire rack for at least 2 hours. This lets the filling set and the flavors develop.
- Extra Tips: If the edges of your pie brown too quickly, cover them with foil or a pie crust shield after the first 15 minutes. Take the pie out of the oven when the center is set but still wobbly to prevent cracking. Ensure the pie cools completely before cutting to ensure the filling firms up.
Serving and Storage Suggestions
These steps will ensure your pumpkin pie is served at its best and leftovers are stored safely. Wondering how to store homemade pumpkin pie? Here’s what you need to know.
Serving Tips
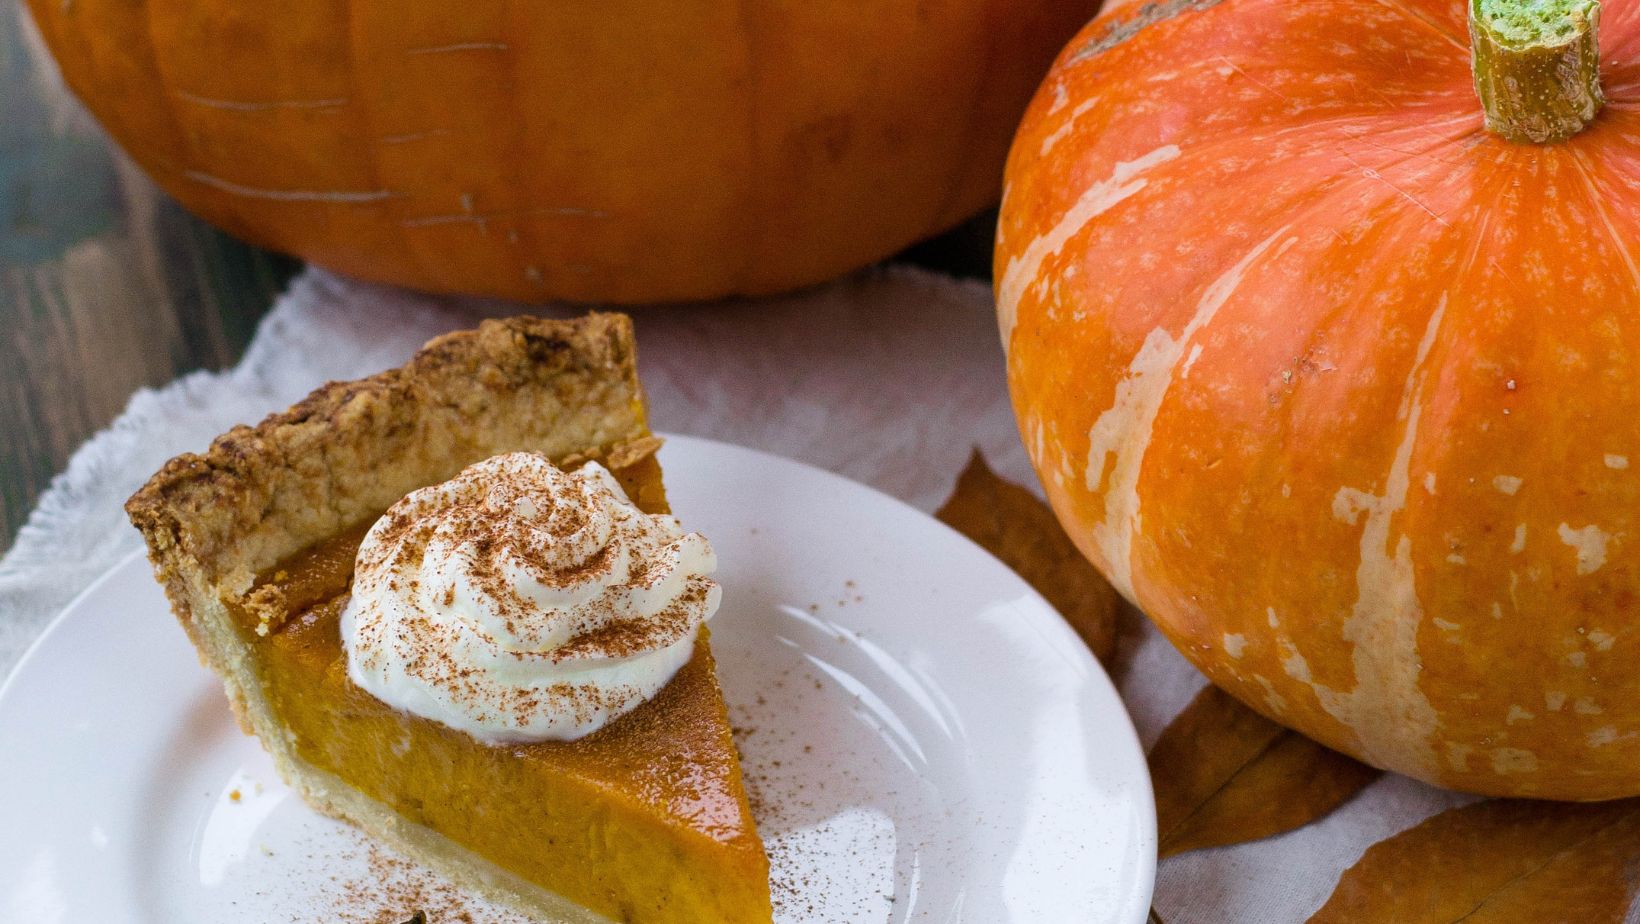
- Temperature: Serve the pie at room temperature or slightly chilled for the best flavor and texture.
- Accompaniments: Pair it with whipped or vanilla ice cream to compliment the rich taste.
- Slice Efficiently: After cooling, slice the pie using a sharp knife, wiping it between slices for clean slices.
Storing Leftovers
- Refrigerate: Put leftover pie in the fridge within two hours of serving. Cover it loosely with cling film or aluminum foil.
- Shelf Life: The pie will keep in the fridge for up to four days.
- Freeze: Wrap the pie tightly in cling film and then foil. It can be frozen for up to two months. Thaw in the fridge overnight before serving.
- Reheat to Refresh: If the crust becomes soft, reheat slices in the oven at 180°C for about 5 minutes to crisp it up.
Conclusion
Turning carved pumpkin innards into a delectable pumpkin pie is not just a creative way to minimize waste but also an opportunity to enjoy a homemade treat that’s nutritious and delicious. Following these simple instructions, you can transform those leftover pumpkin parts into a delightful dessert, making the best pumpkin pie using leftover Halloween pumpkins.
You can visit https://justalittlebite.com for more suggestions on repurposing Halloween leftovers.
Amanda Davis
Amanda is the proud owner and head cook of her very own restaurant. She loves nothing more than experimenting with new recipes in the kitchen, and her food is always a big hit with customers. Amanda takes great pride in her work, and she always puts her heart into everything she does. She's a hard-working woman who has made it on her own, and she's an inspiration to all who know her.

How long does a cooked crab cake last in the fridge? |
When it comes to seafood, cooked crab cakes can last up to two weeks in the fridge. The longer they

NJ Diet Evaluation: How Does A DNA Diet Work?
Scientists have been rapidly unraveling the complex ways that genes impact overall health ove

How do you cook a prime rib on a Weber gas grill? |
Prime rib is a popular cut of beef and often comes with many steps in its preparation. The first ste